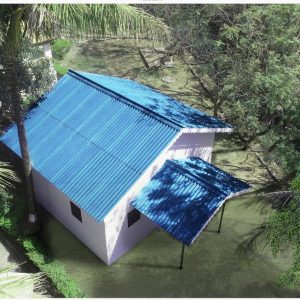
Roofing is more than just the final layer of your home. It is the layer that shields everything underneath it. If you’re constructing a new building or upgrading an old roof, roof sheet installation is a key step that impacts your home’s durability, energy efficiency, and weather resistance.
In a diverse country like India, where climates shift dramatically from blistering summers in Gujarat to relentless rains in the Northeast, choosing and installing roofing sheets correctly becomes critical.
If you’re wondering how to install roofing sheets the right way, this guide walks you through the step-by-step process.
How to Install Roofing Sheets
Learning how to install roofing sheets doesn’t have to be complicated. With the right materials, tools, and techniques, roof sheet installation becomes a straightforward task. Let’s break it down into simple steps:
1. Cutting of Sheets On-Site
- Cut on the ground, not on the roof.
- Use proper eye and hand protection.
- Keep edges clean and burr-free to avoid rusting and injury.
This is a crucial first step in roofing panel installation, especially when working around edges, protrusions, or corners.
2. Laying of Sheets
While Everest roof sheets are available in ready lengths, sometimes you may need to cut them for custom fittings. Always use a circular saw or snips designed for metal sheets. Remember:
Before roof sheet installation, ensure the roof slope and framework are correctly measured. Start from the side opposite the prevailing wind direction. This prevents rainwater from being blown into the laps.
- Lay the first sheet along the eave and align it carefully before fixing.
- As you progress, place each new sheet overlapping the previous one.
- Always maintain a straight line to ensure uniform alignment.
- Use chalk lines if needed to guide sheet placement.
This staggered technique is essential for a watertight fit and ensures smooth rooftop sheets installation.
3. Side and End Laps
To prevent leakage, proper lapping is key in roofing panel installation.
- Side laps: Usually one corrugation (for corrugated sheets) or as specified by the manufacturer.
- End laps: Overlap by 150mm to 300mm, depending on roof pitch.
Apply a sealant strip or weatherproof tape at laps for extra protection, especially in high-rainfall zones like Kerala. This is a fundamental detail in installing corrugated roofing correctly.
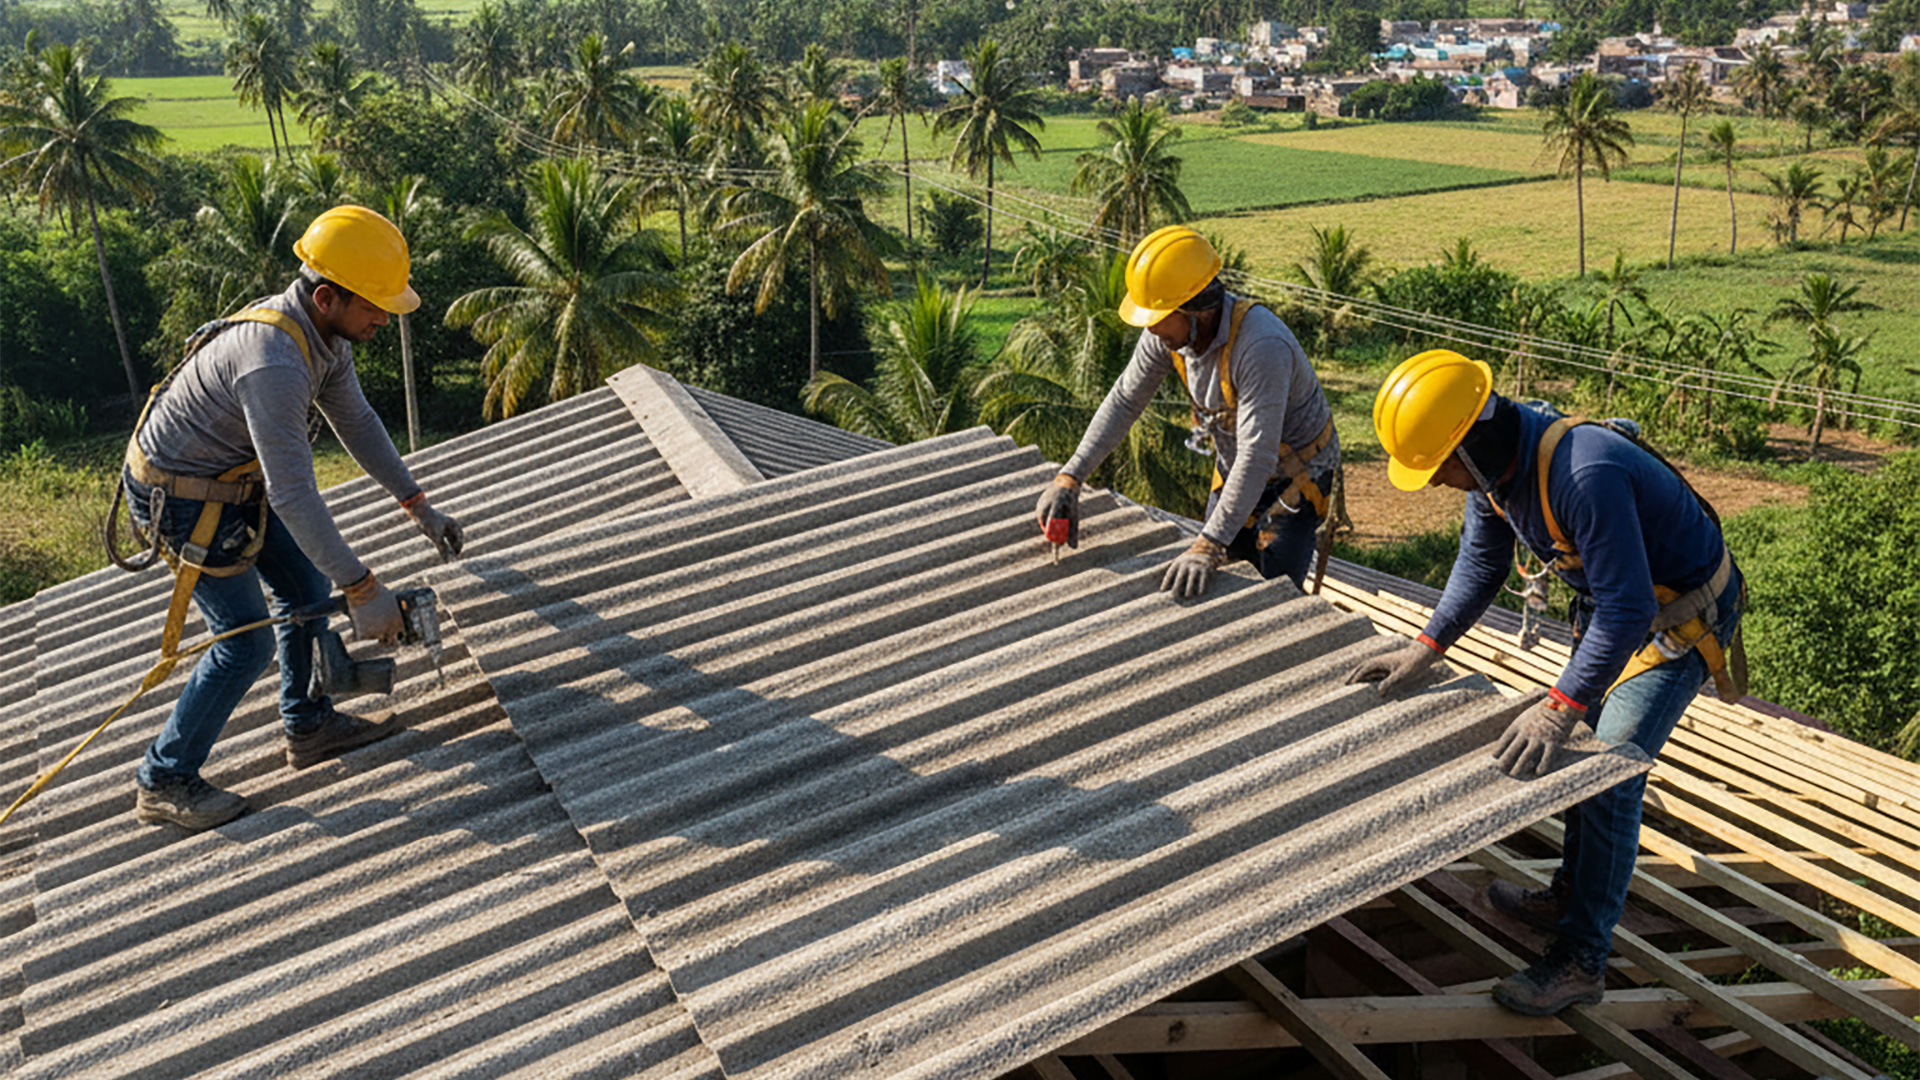
4. Always Work Safely
While focusing on how to install roofing panels, never ignore safety.
- Use safety harnesses when working at heights.
- Wear non-slip shoes, gloves, and a helmet.
- Avoid walking directly on the sheets; use walk boards to distribute your weight.
Professional installers follow this as a golden rule for every roof sheet installation project.
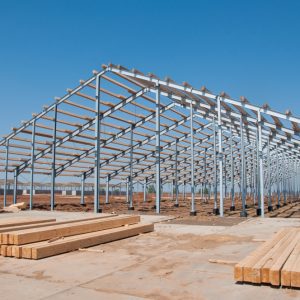
5. Create a Purlin Framework
The structural base under your sheets matters. Purlins are horizontal bars that provide support to the roofing sheets. They are either made of steel or wood and must be evenly spaced according to the roofing type and load.
Before roofing panel installation, ensure:
- Purlins are rust-free and straight.
- Adequate spacing is maintained (usually 1.2m to 1.5m).
- They are fixed securely to the trusses or rafters.
A solid purlin base is the foundation of every long-lasting rooftop sheets installation.
6. Fix Sheets
Use self-drilling screws with washers or dome-head nails for fixing. Screws must penetrate the sheet crest and purlin underneath. Keep the screw line straight and spacing consistent, typically every second corrugation and every purlin.
Tips:
- Don’t overtighten screws—this can deform the sheet.
- Use color-matched screws for aesthetics.
- For windy regions like Odisha or coastal Andhra Pradesh, go for extra fixings.
Whether it’s installing corrugated roofing or colour-coated metal panels, this step ensures the strength of your roof.
7. Ridge Caps
The ridge (topmost line where two roof slopes meet) is where wind and rain often try to enter. Ridge caps provide a seal and a finished look to this area.
Here’s how to do it:
- Place ridge caps along the ridge line, overlapping by at least 100mm.
- Use foam fillers underneath for better sealing.
- Fix with screws on both sides of the roof slope.
This finishing step completes your roof sheet installation while preventing water ingress and pest entry.
8. Protrusions
Whether it’s a chimney, skylight, or vent pipe, any protrusion on the roof requires special flashing to maintain waterproofing.
To manage these during rooftop sheets installation:
- Use flexible waterproof flashings (EPDM or lead).
- Flashing should be placed under the top sheet and over the lower sheet.
- Seal the area around the base of the protrusion with weatherproof tape or sealant.
Addressing these details ensures your roofing panel installation stands strong against all seasonal changes.
Final Fix: Get Roofing That Lasts
Whether you’re a homeowner, builder, or DIY enthusiast, understanding how to install roofing sheets correctly gives you better control over your roofing quality and durability.
From creating a purlin base to installing corrugated roofing with proper lap techniques, every step in the process adds to your roof’s long-term resilience. Still wondering where to begin? Trust Everest’s roofing solutions—designed for India’s varied climate, built for modern durability. From high-performance cement boards to steel-based rooftop systems, Everest offers a wide range of smart products that make roof sheet installation simpler and more effective.